Travel Guide: Backpacking to Havasu Falls
Intro
You’ve seen the pictures and been blown away. Where is this place?! What? In Arizona? In the Grand Canyon?! You almost can’t believe it. Well. Believe it. Havasu Falls is real and the pictures don’t do it justice. It truly is an oasis in the desert. While this place looks incredibly dreamy, planning and getting there can be a nightmare if you don’t do your research and plan ahead.
Do you need help planning a trip to Havasu Falls? Keep reading!
Before you go
Here are the major things you need to know about visiting Havasu Falls:
Planning ahead is a must
Visiting Havasu Falls requires a strenuous hike (10 miles one way)
You must get a permit to enter the reservation
You must book 4 day/3 night reservation
Do your research and know what to expect
Real Talk: I was getting very confused by all of the names I was seeing being used — sometimes interchangeably. Here is a list of names that may be helpful:
Havasupai is the name of the Native American tribe who own the land and have been living in the area for hundreds of years. The falls and campground are located on the Havasupai Indian Reservation.
Supai is the village located on the reservation where you will check-in after your 8 mile hike. It has been referred to as "the most remote community" in the contiguous United States. It is accessible only by helicopter, on foot or by mule.
Havasu refers to one of the falls (the most iconic) located on the reservation.
Hualapai Hilltop is where the trailhead and parking lot are located.
Reservations
The Havasuapi Reservation website will be either your best friend or your worst enemy during this process. This is where you will make your campground reservation and can find all information regarding protocols and procedures. Again, you MUST have a reservation to go to Havasupai!
The most important date to know is February 1st, 8:00 AM Arizona Time. This is when the reservations for the year open. Permits are usually sold out completely within the first few hours of opening day.
All Campground Reservations are 4 Days / 3 Nights. The prices in 2020 were $100 for weekday night per person and $125 for weekend nights per person, so the estimated total would be $300-$375 per person.
For your best chances to get a permit, I have a few tips:
Everyone in your party needs to make an account on the website and enter your credit card information prior to February 1st
Be logged in and ready to go a few minutes before the opening
Be flexible with your dates. You may need several backup options if your first choices are already booked.
Have everyone in your group logged on using different devices. If you are not all together, be in communication so the first person to get the permits can tell everyone else to stop trying. (Permits are non-refundable. They are transferable only through their website, for a fee).
The website will crash over and over again; keep refreshing the page and don’t give up!
Real Talk: I was very concerned that we were not going to get the dates we wanted. After 30 minutes of clicking, crashing, and clicking some more, Rebecca finally landed a reservation and got an email to confirm! We were SO excited!
If you’re reading this after February 1st (and all the reservations are gone) and want a reservation for this year, you can look at the “Cancellation/Transfer List” and see if any of the dates available work for you.
Camping isn’t your thing? After getting your permit, make reservations for a room and bed at the Havasupai Lodge.
Pack Mules — If you would like to avoid carrying your stuff on the 10 mile hike in or out from the campground, there is an option to hire pack animals to carry it for you. You have the option of hiring them for one direction (just out) or both (in and out). If you are interested, add your name to the waiting list after securing your reservation on the website. The prices in 2020 for one direction is $95 and round-trip is $187. I also saw people booking a pack mule for their hike out at the tourism office when we arrived after deciding they didn’t want to carry their things back out.
Real Talk: We didn’t use the pack mules because we were capable of carrying our own gear, but I read multiple blogs advising against using the animals due to poor treatment and overuse. I have no idea whether these allegations are true. This was just the word going around.
Helicopter — Airwest Helicopters provide transportation from the Havasupai Hilltop to Supai Village and vice versa. They only run certain times during the week and certain times during the year. You can check the schedule here. They run on a first come first serve basis giving the locals priority. It is important to get in line early if you plan to use this service. (Real Talk: I have heard of people waiting upwards to 12 hours to get a ride!) Currently, prices are $85 per person per direction. They accept Visa, Mastercard, and Discover for an additional $15 fee. It is still a two mile hike from the Havasu Falls campground to the helipad. (I thought it would be fun to take the helicopter out, but we opted for our own legs.)
Weather
The weather is very dependent on the season you are going. In the winter, you will need long sleeves and layers (lows in the 20’s) and the summers can reach as high at 115 degrees! Spring and Fall seem to be the ideal months (but it all depends on when you can get the permit!) We went in March and while the temperature outside felt perfect, we were met with stormy weather which was not ideal. The water temperature is consistently around 60-70 degrees. Check the weather before you start packing for your trip!
Packing
While there is a small cafe and convenience store in Supai with some food, you will still need to be extra thoughtful when packing your bag for this trip. Here is our post with our packing list suggestions. There is also a trip guide on the Havasupai website with packing tips.
Money
I think it’s always wise to have cash whenever you travel. We only used cash to buy the delicious frybread at the top of the waterfalls, but we came prepared with both cash and credit card just in case.
Our itinerary to Havasu Falls
Day 0: Arrive at the trailhead
We chose to fly into Las Vegas and rent a car. On our drive to the trailhead, we stopped in Kingsman, AZ for groceries and to fill up our car with gas. (There are not many gas stations, so make sure your tank is full before you make the drive to the trailhead.)
Real Talk: We made the decision to sleep in our car at the trailhead before heading out early the next morning. We rented a tiny car (to save money) and it was one of the worst nights of sleep of my life. Looking back, I would have either a) rented a bigger car so we could have had more room to lay down or b) stayed further away in a hotel/lodge/AirBnB and driven to the trailhead the next morning.
Day 1: Hike to the Havasupai Falls Campground (10 miles/approximately 4.5 hours)
Real Talk: After a horrendous night of sleep the night before, I felt terrible the next morning (I will spare you the details) as we started hiking at 5:30 AM and to top it off, it was raining.... I don’t think the morning could have started off worse, and we still made it to the campground. Anything is possible if you have the right attitude!
Hike 8 Miles from Hualapai Hilltop Parking Lot (Havasupai Falls Trailhead) to Supai Tourism Office to check-in.
There is no water along the trail so make sure to pack enough! The first 1.5 miles of this trail contains a series of switchbacks as you descend 1,000 feet into the dried creek bed below. The trail is covered in rocks that are the perfect size for rolling ankles (speaking from experience). The trail is fairly easy to follow, but if you’re worried you’re going the wrong way, follow the mule poop and you’ll be fine.
When you check in at the office, make sure you have either a paper copy or a screenshot of your reservation, a picture I.D. for everyone in the party, and you know your car’s license plate number to write down.
We made a stop at the cafe for a delicious breakfast after a long morning of hiking and I would highly recommend it! It really hit the spot.
Hike 2 Miles from Supai to Havasupai Falls Campground (You will pass 3 waterfalls!)
This was probably the longest part of the hike. Those 2 miles felt like they took FOREVER because we were so ready to be at the campground!
Pick out a campsite and set up
Real Talk: When we checked in, they warned that with the rain expected, the river would be rising and we would need to stay on the left hand side of the river on higher ground. We followed those directions and went 3/4ths of the way down to find the perfect campsite. Others did not follow that advice and had to move at 10pm when the river started to rise and the park rangers herded everyone from the low areas. Lesson? Listen to instructions.
Take a nap, explore waterfalls before sunset, and eat dinner
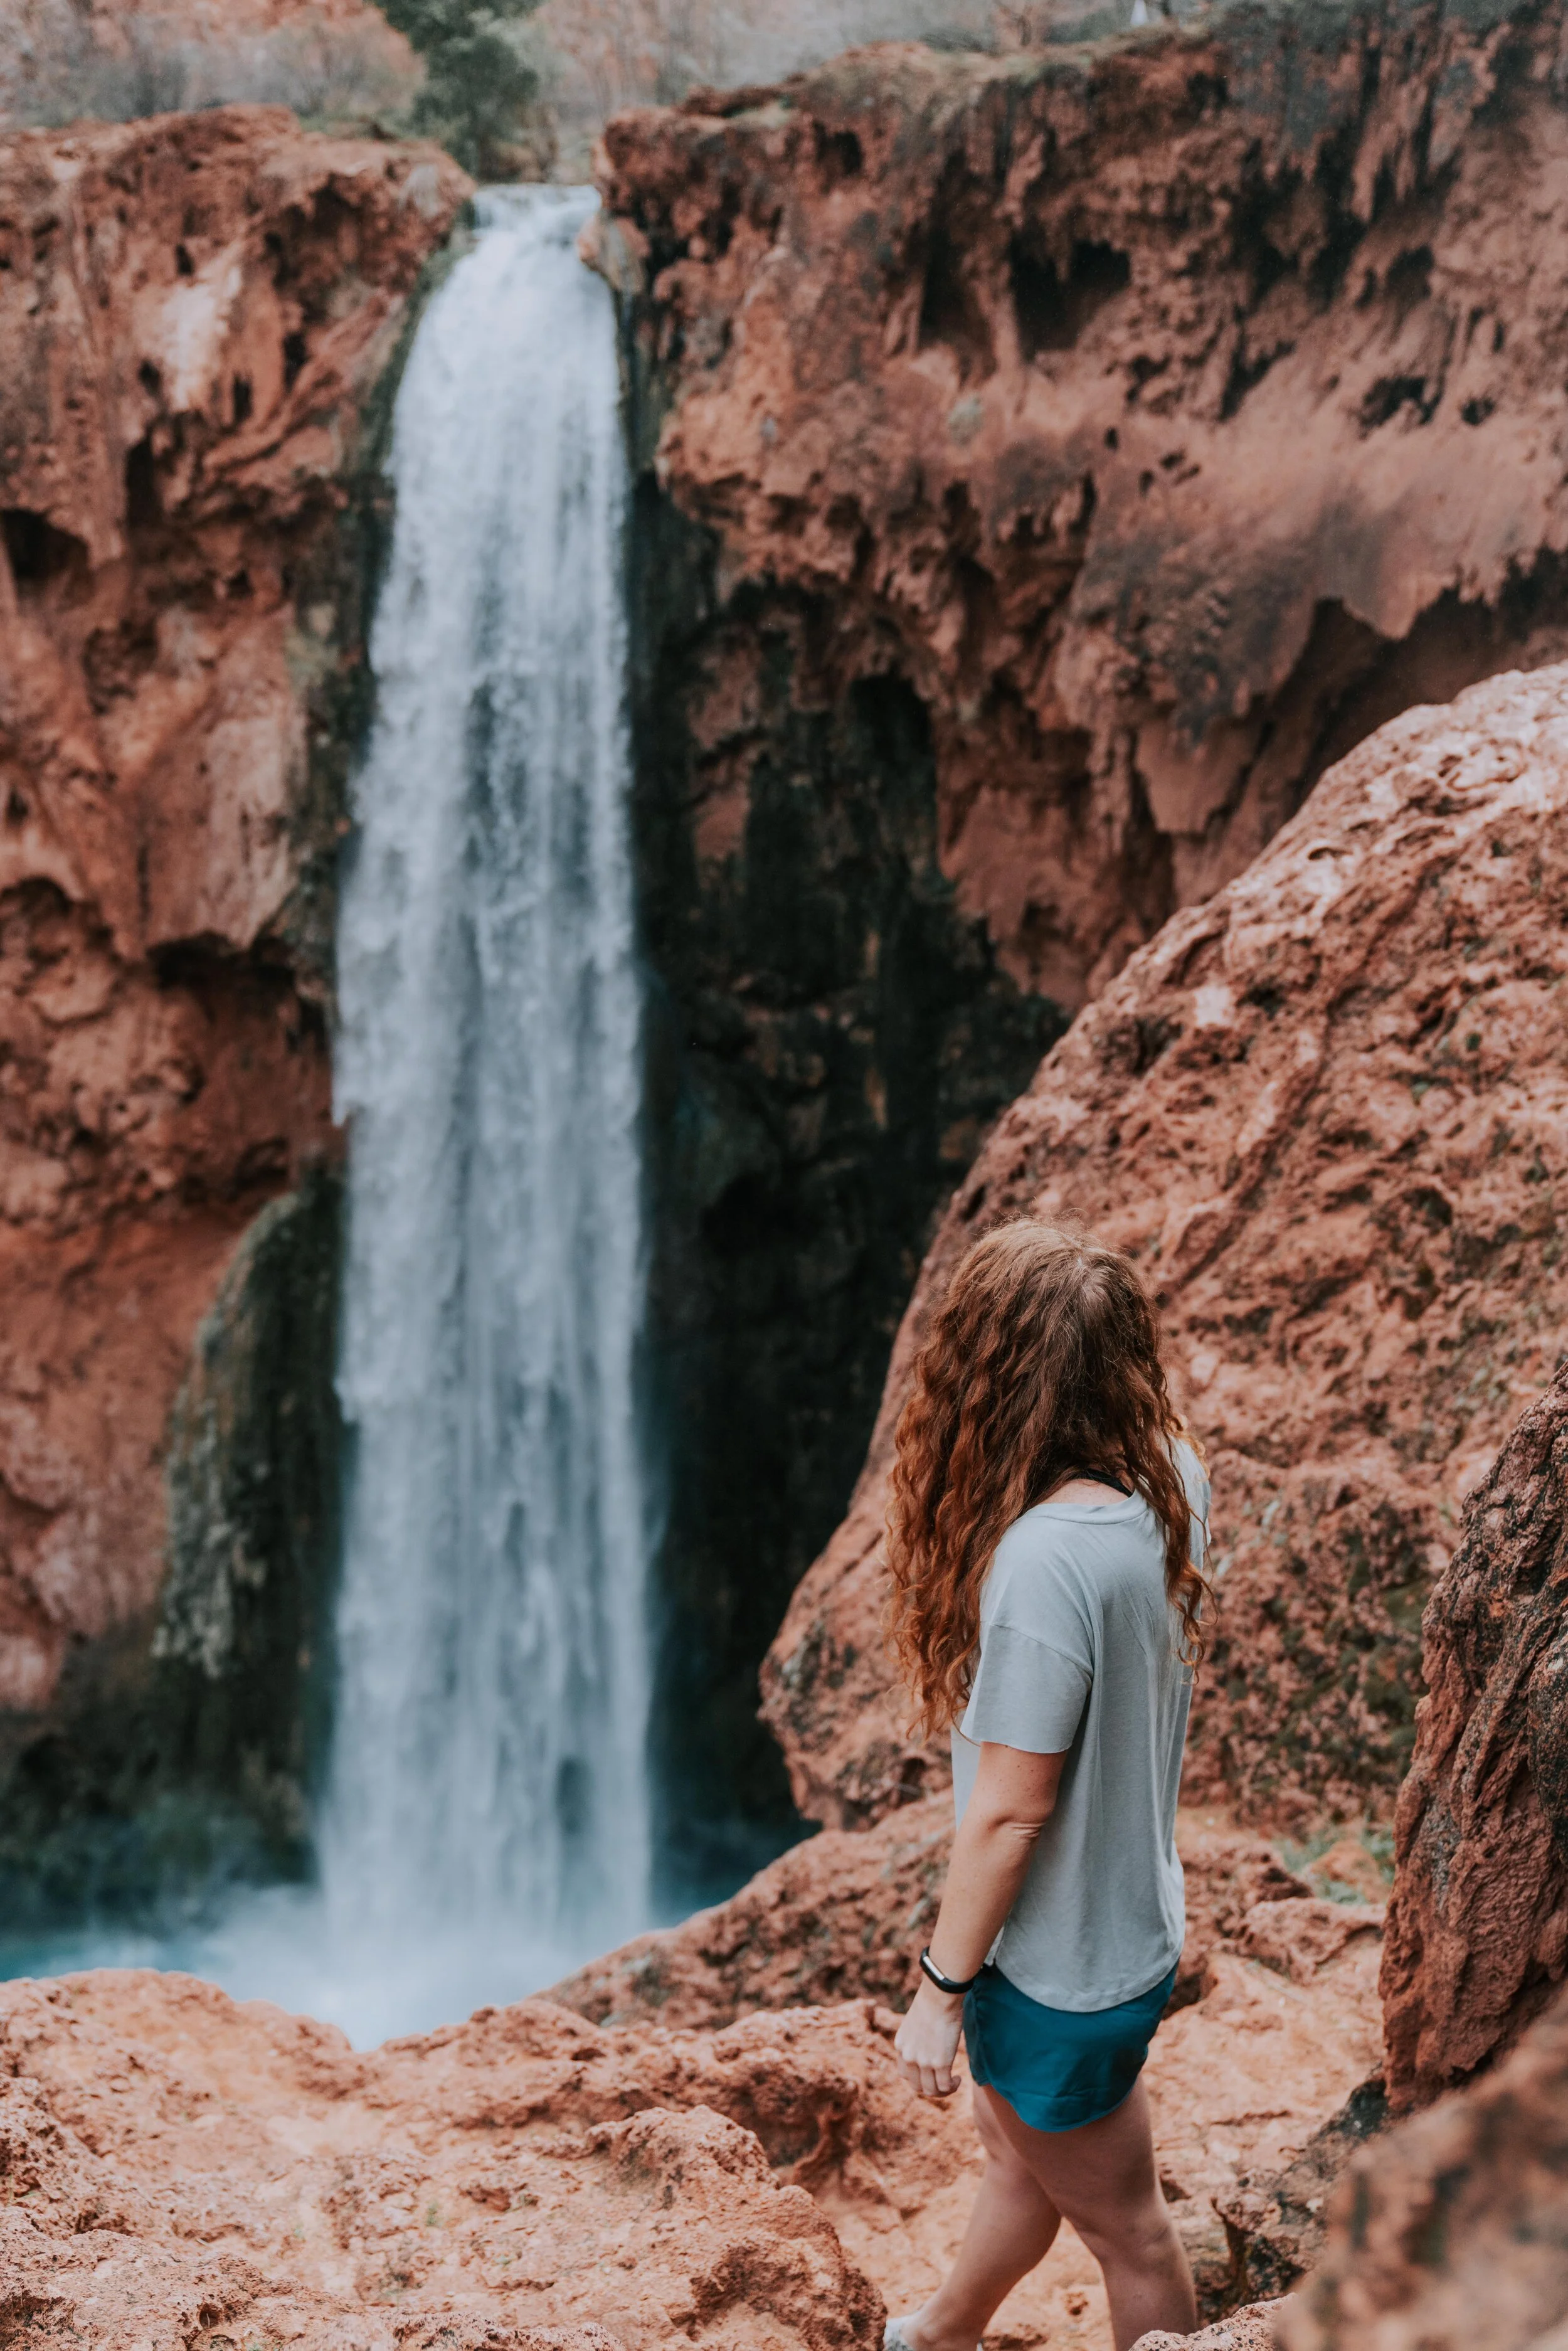
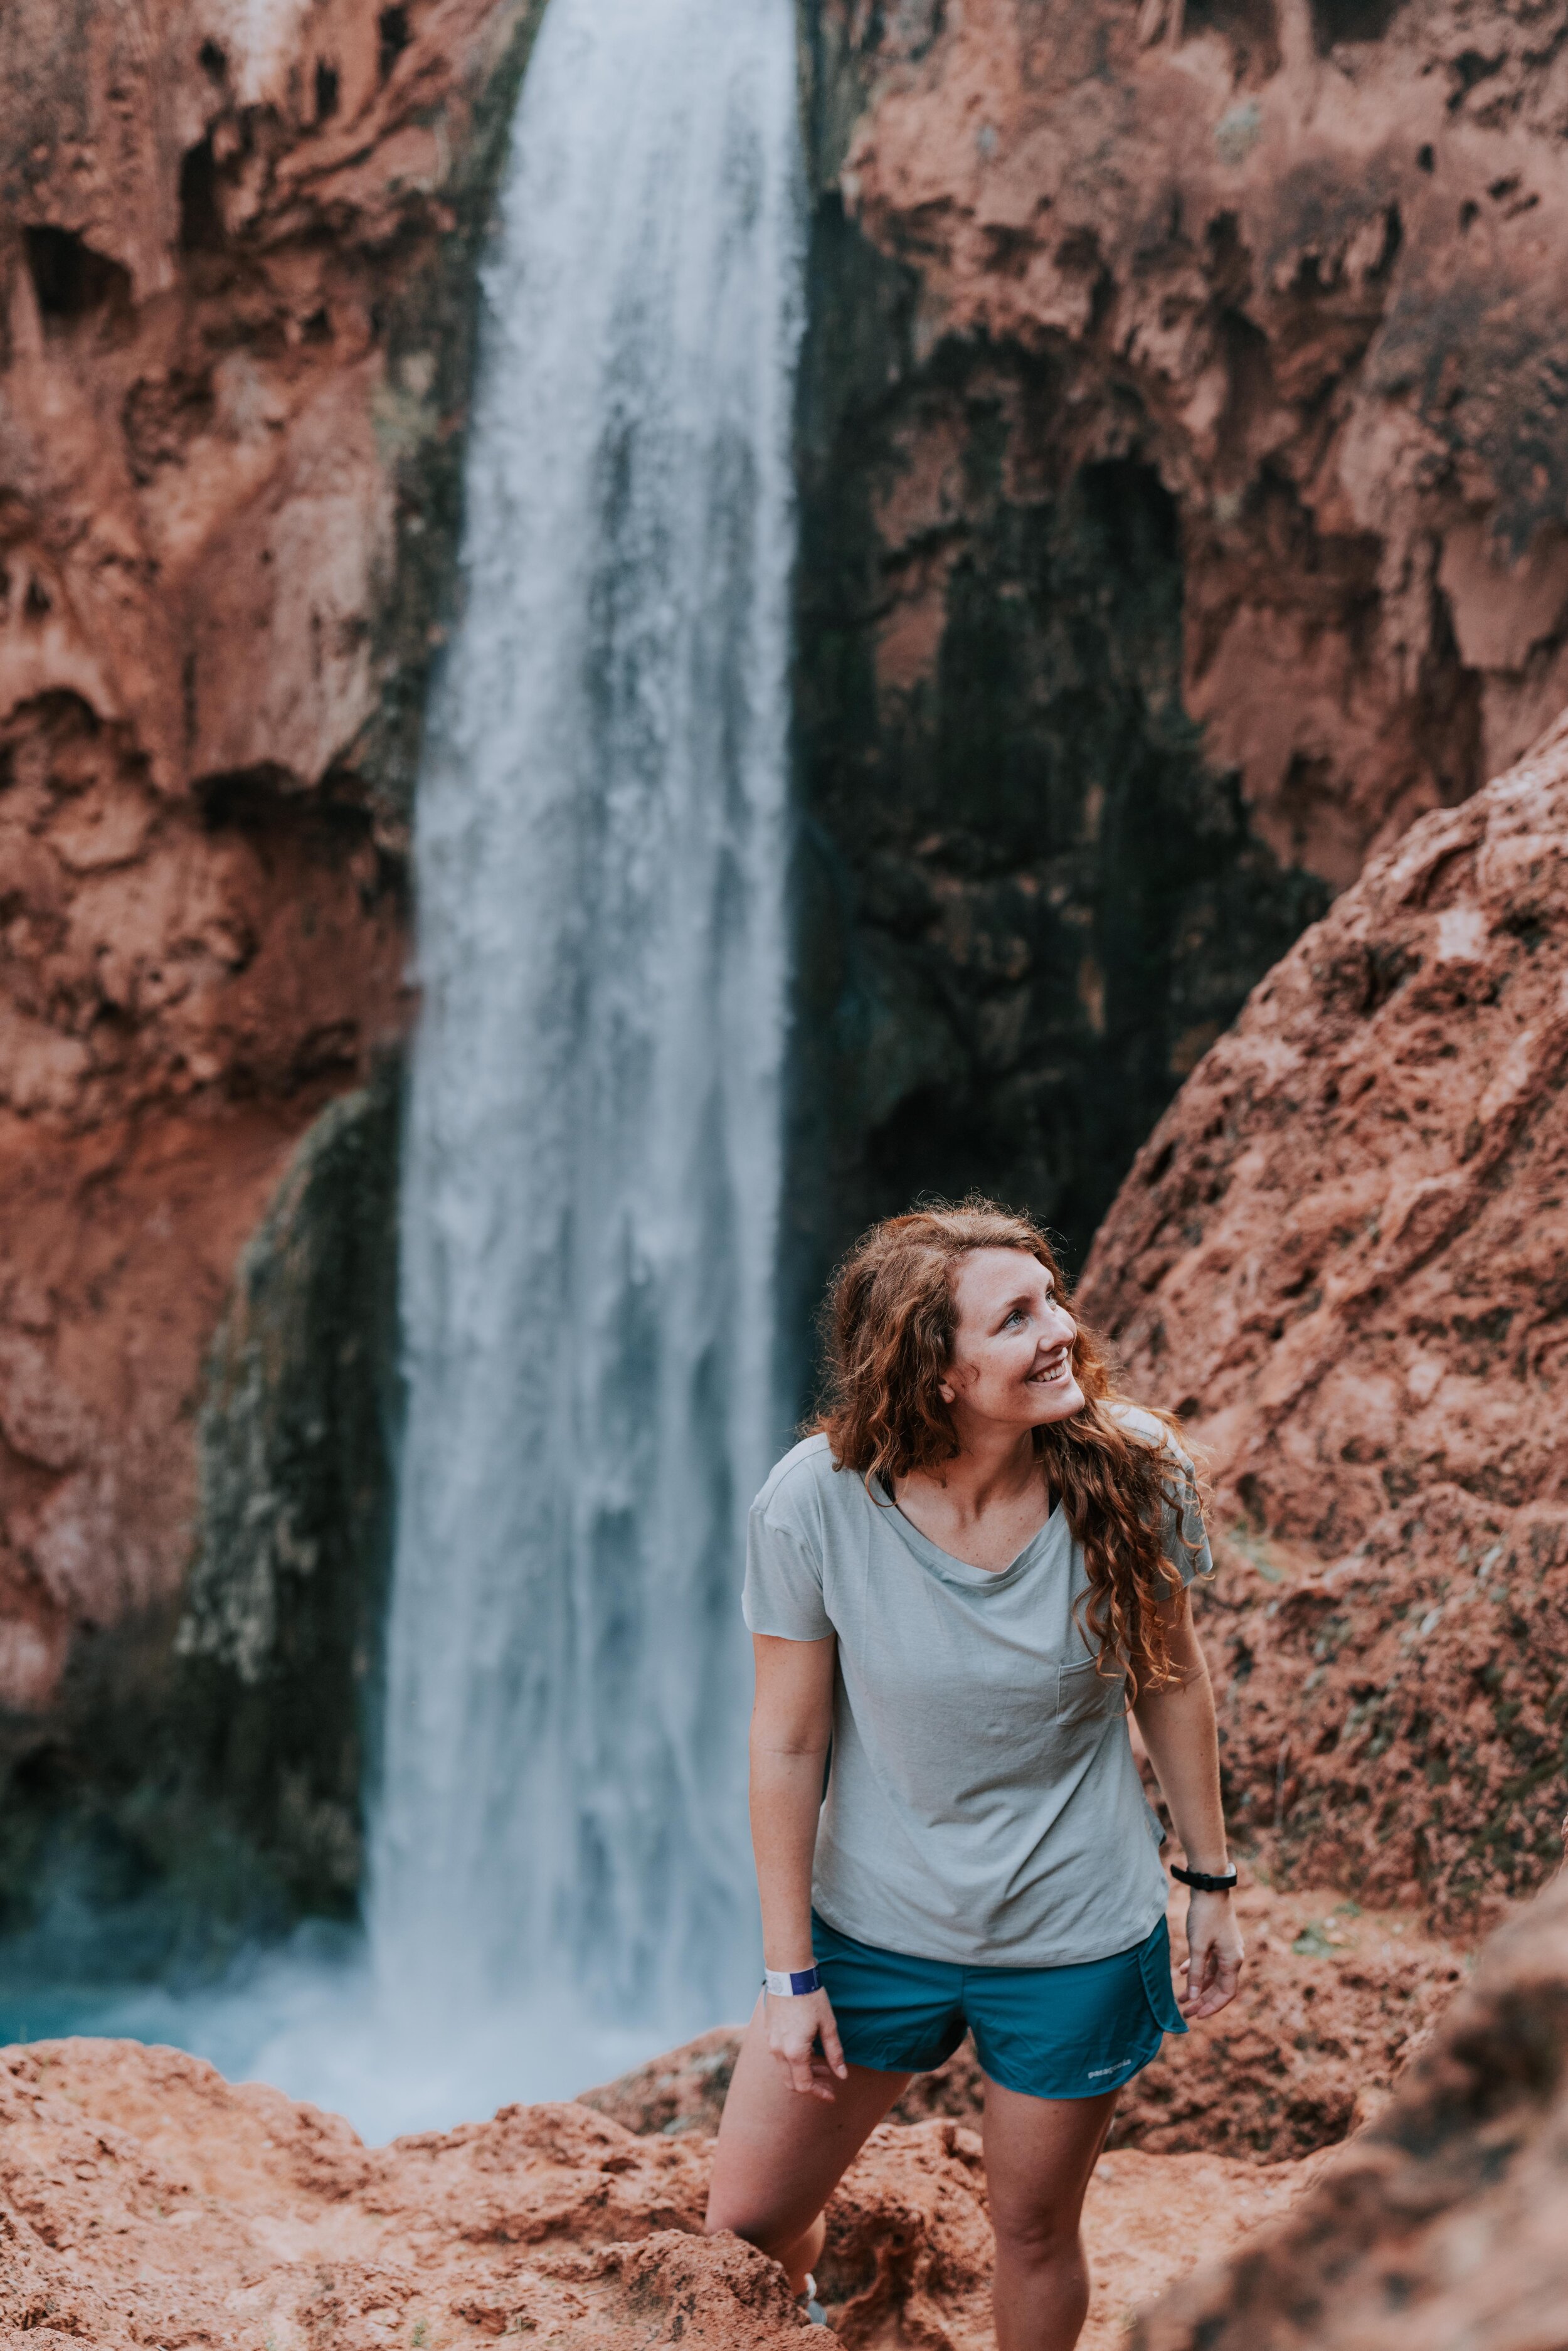
We took about a 3 hour nap after we set up camp. We checked out Havasu Falls and peered over to see Mooney Falls before making dinner. I think we went to bed around 8pm and had our best night of sleep after a long day of hiking! We’ve never slept so well while camping because we were so exhausted!


Day 2: Explore Mooney Falls and hike to Beaver Falls (5 miles roundtrip)
Hike 0.5-1 mile (depending on where you set up camp) to Mooney Falls
Descend at your own risk! After completing Angel’s Landing in Zion National Park, I thought that was pretty scary, but these series of wet chains and ladders descending 200 feet are no joke. I would recommend starting this hike semi-early (9am) for less traffic on the chains and ladders. There were luckily some gloves to borrow at the top and bottom which made it much easier to grasp the wet chains.
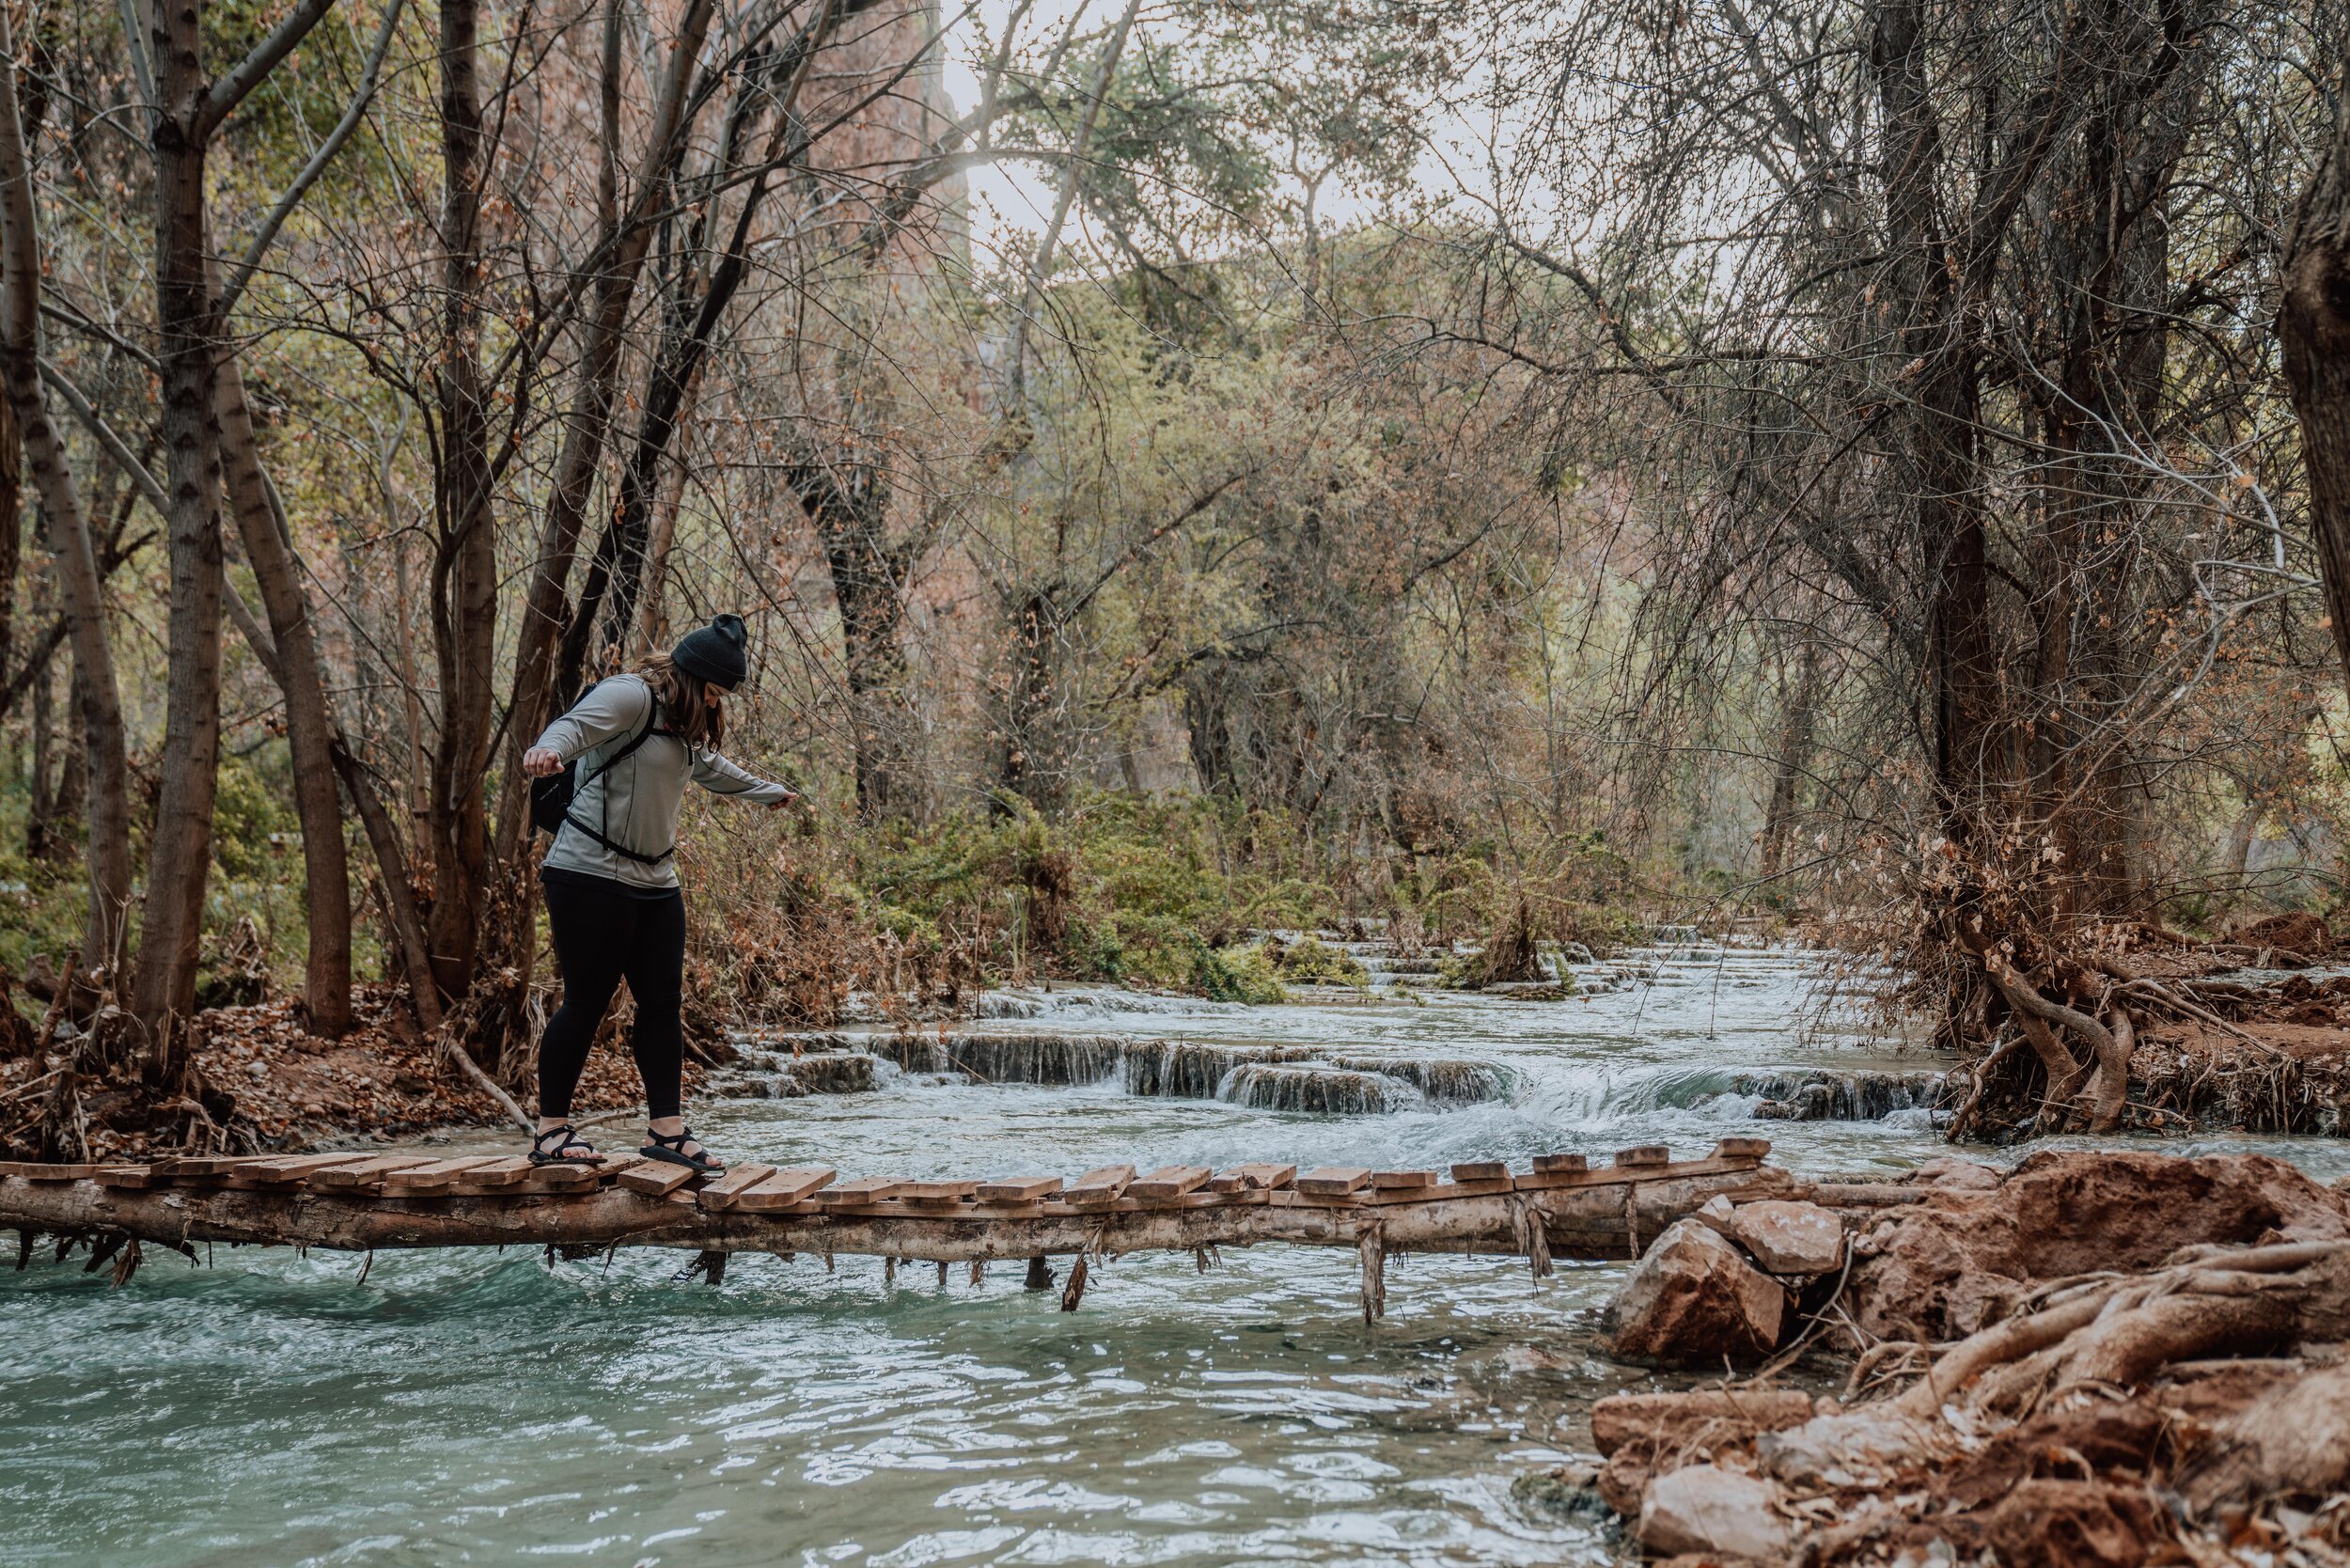
Hike 2 miles from Mooney Falls to Beaver Falls
This was an overall easy to follow hike with a few ladders to climb once you get closer to Beaver Falls. You will cross back and forth through the river 4 times with the water going up at least to your backside (depending on your height!), so make sure you’re wearing shoes and clothes you don’t mind getting wet.
Option: Some people continue another 4 miles from Beaver Falls to the Confluence where the blue water of the Havasu Creek meets the brown water of the Colorado river. The pictures look incredible, but we opted out of adding another 8 miles of hiking to this trip.
Once we got back to the campground, we set up our hammocks along the creek and took a nap before dinner.


Day 3: Hang out at the campground and explore the 3 waterfalls — Fifty Foot Falls, Navajo Falls, and Havasu Falls
Real Talk: We had planned to spend another day at the campsite, relaxing and resting before we left early the next morning and caught our flight out of Vegas. Plans changed when, the night before, it poured down rain and the once beautiful blue waters of the creek and falls turned a muddy brown. Rebecca and I looked at each other and decided to hike out a day early. We spent the night in Vegas (we have never been so thankful for beds and showers!) and flew out the next day as planned. We were very happy with our decision!


Day 4: Hike out (10 miles/approximately 5.5 hours)
The hike out takes slightly longer because of the switchbacks you now must climb up, but we actually got out faster than I had originally anticipated.
That’s It!
I’m not going to lie — this trip was tough. It was hard mental work to make all of the plans, but the 26 miles of hiking with 40 pounds on our backs was equally hard physically. But. It is SO worth it! Do you need help planning your own trip to Havasu Falls? Ask a question or comment below!